Guide for Developers
0. Requirements
Java 11 JDK
Install Java JDK 11 (Java Development Kit) (recommend: [adoptopenjdk](https://adoptium.net/installation/)). To verify the installation, run:
java -version
Next, set JAVA_HOME. On macOS you can run:
export JAVA_HOME=$(/usr/libexec/java_home -v 11)
On Windows, add a system environment variable called JAVA_HOME that points to the JDK directory.
Python@3.12/3.11/3.10
Install Python 3.12 (or 3.11/3.10) from the official site or your preferred package manager.
Git
On Windows, install the software from https://gitforwindows.org/. Git Bash is available after installing Git.
On Mac and Linux, see https://git-scm.com/book/en/v2/Getting-Started-Installing-Git
Verify the installation by:
git --version
sbt (Scala Build Tool)
Install sbt for building the project. Please refer to sbt Reference Manual — Installing sbt. We recommend you to use sdkman to install sbt.
Verify the installation by:
sbt --version
If the above command fails on Windows after installation, it is recommended to restart your computer.
node LTS Version > 18.x
Install an LTS version (not the latest) of node. Currently, we require LTS version > 18.x.
On Windows, install from https://nodejs.org/en/.
On Mac and Linux, use NVM to install NodeJS as it avoids permission issues.
Verify the installation by:
node -v
Angular 16 Cli
Install the angular 16 cli globally:
npm install -g @angular/cli@16
Verify the installation by:
ng version
1. Setup Backend Development.
Clone and Configure Texera
In the terminal, clone the Texera repo:
git clone git@github.com:Texera/texera.git
Do the following changes to the configuration files:
- Edit
common/config/src/main/resources/storage.confto use your Postgres credentials.
    jdbc {

-        username = "postgres"
+        username = <Postgres username you have>
        username = ${?STORAGE_JDBC_USERNAME}

-        password = "postgres"
+        password = <Postgres password you have>
        password = ${?STORAGE_JDBC_PASSWORD}
    }
- Edit
common/config/src/main/resources/udf.confto use the correct python executable path(can be obtained by commandwhich pythonorwhere python):
python {
-   path =
+   path = "/the/executable/path/of/python"
}
Setup PostgreSQL locally
Texera uses PostgreSQL to manage the user data and system metadata. To install and configure it: Install Postgres. If you are using Mac, simply execute:
brew install postgresql
Install Pgroonga for enabling full-text search, if you are using Mac, simply execute:
brew install pgroonga
Execute sql/texera_ddl.sql to create texera_db database for storing user system data & metadata storage
psql -U postgres -f "sql/texera_ddl.sql"
Execute sql/iceberg_postgres_catalog.sql to create the database for storing Iceberg catalogs.
psql -U postgres -f "sql/iceberg_postgres_catalog.sql"
Setup the LakeFS+Minio locally
Texera requires LakeFS and S3(Minio is one of the implementations) as the dataset storage. Setting up these two storage services locally are required to make Texera’s dataset feature functioning.
Install Docker Desktop which contains both docker engine and docker compose. Make sure you launch the Docker after installing it.
In the terminal, enter the directory containing the docker-compose file:
cd file-service/src/main/resources
Edit docker-compose.yml by: search for volumes in the file and follow the instructions in the comment. This step is required otherwise your data will be lost if containers are deleted
Execute the following command to start LakeFS and Minio:
docker compose up
Import the project into IntelliJ
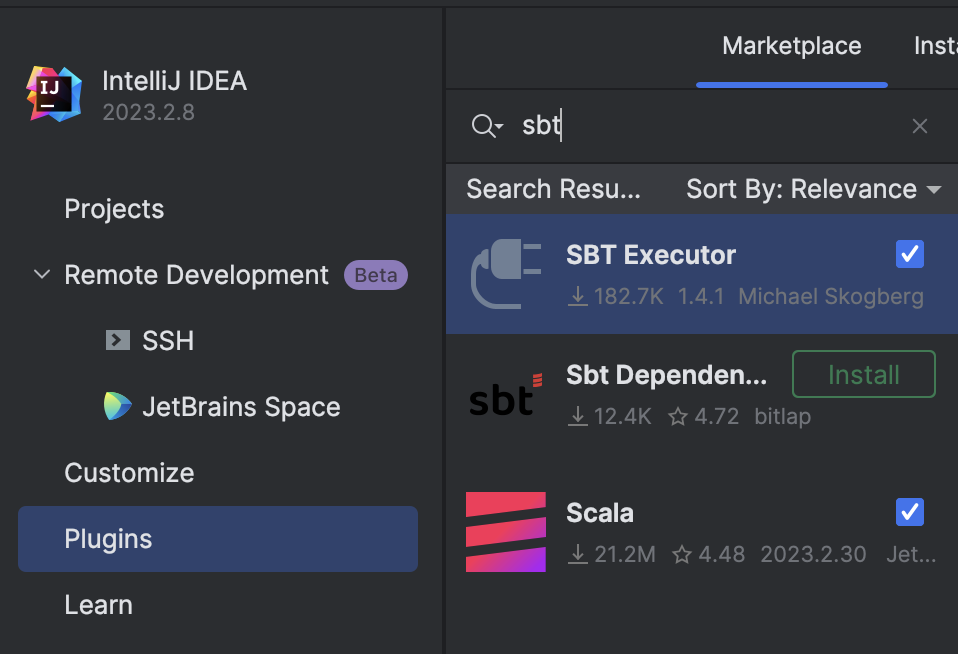
Before you import the project, you need to have “Scala”, and “SBT Executor” plugins installed in Intellij.
- In Intellij, open
File -> New -> Project From Existing Source, then choose thetexerafolder. - In the next window, select
Import Project from external model, then selectsbt. - In the next window, make sure
Project JDKis set. Click OK. - IntelliJ should import and build this Scala project. In the terminal under
texera, run:
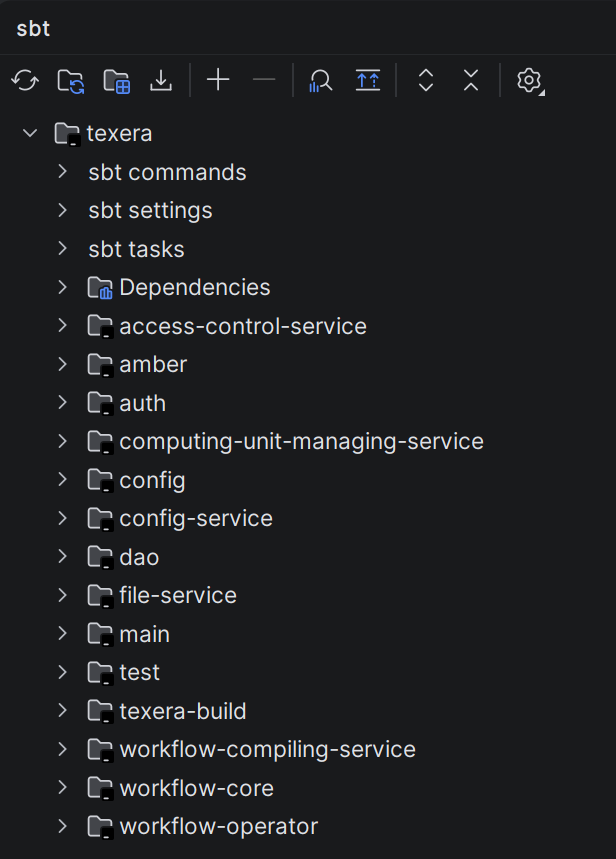
sbt clean protocGenerate
This will generate proto-specified codes. And the IntelliJ indexing should start. Wait until the indexing and importing is completed. And on the right, you can open the sbt tab and check the loaded texera project and couple of sub projects:
When IntelliJ prompts “Scalafmt configuration detected in this project” in the bottom right corner, select “Enable”. If you missed the IntelliJ prompt, you can check the
Event Logon the bottom rightIn addition to the microservices, you need to run the JOOQ code generation using
sbt DAO/jooqGenerate, make sure to provide Postgres credentials.
Run the backend micro services in IntelliJ
The easiest way to run backend services is in IntelliJ. Currently we have couple of micro services for different purposes. If one microservice failed after running, it may have dependency to another microservice, so wait for other ones to start, also make sure to run LakeFS docker compose:
| Component | File Path | Purpose / Functionality |
|---|---|---|
| ConfigService | config-service/src/main/scala/org/apache/texera/service/ConfigService.scala | Hosts the system configurations to allow the frontend to retrieve configuration data. |
| TexeraWebApplication | amber/src/main/scala/org/apache/texera/web/TexeraWebApplication.scala | Provides user login, community resource read/write operations, and loads metadata for available operators. |
| FileService | file-service/src/main/scala/org/apache/texera/service/FileService.scala | Provides dataset-related endpoints including dataset management, access control, and read/write operations across datasets. |
| WorkflowCompilingService | workflow-compiling-service/src/main/scala/org/apache/texera/service/WorkflowCompilingService.scala | Propagates schema and checks for static errors during workflow construction. |
| ComputingUnitMaster | amber/src/main/scala/org/apache/texera/web/ComputingUnitMaster.scala | Manages workflow execution and acts as the master node of the computing cluster. Must start before ComputingUnitWorker. |
| ComputingUnitWorker | amber/src/main/scala/org/apache/texera/web/ComputingUnitWorker.scala | A worker node in the computing cluster (not a web server). |
| ComputingUnitManagingService | computing-unit-managing-service/src/main/scala/org/apache/texera/service/ComputingUnitManagingService.scala | Manages the lifecycle of different types of computing units and their connections to users’ frontends. |
| AccessControlService | access-control-service/src/main/scala/org/apache/texera/service/AccessControlService.scala | Authorize requests sent to computing unit, currently not needed to run for local development, it is only used in Kubernetes setup. |
To run each of the above web service, go to the corresponding scala file(i.e. for TexeraWebApplication, go find TexeraWebApplication.scala), then run the main function by pressing on the green run button and wait for the process to start up.
For TexeraWebApplication, the following message indicates that it is successfully running:
[main] [akka.remote.Remoting] Remoting now listens on addresses:
org.eclipse.jetty.server.Server: Started
- If IntelliJ displays CreateProcess error=206, the filename or extension is too long : add the -Didea.dynamic.classpath=true in Help | Edit Custom VM Options and restart the IDE
For ComputingUnitMaster, the following prompt indicates that it is successfully running:
---------Now we have 1 node in the cluster---------
Enable Python-based Operators
Texera has lots of Python-based operators like visualizations, and UDF operators. To enable them, install python dependencies by executing, you also need to install R in your system:
cd texera
pip install -r amber/requirements.txt -r amber/operator-requirements.txt
2. Launch Frontend
This is for developers that work on the frontend part of the project. This step is NOT needed if you develop the backend only.Before you start, make sure the backend services are all running.
Install Angular CLI
cd frontend
yarn install
Ignore those warnings (warnings are usually marked in yellow color or start with WARN).
Launch Frontend in IntelliJ for local development
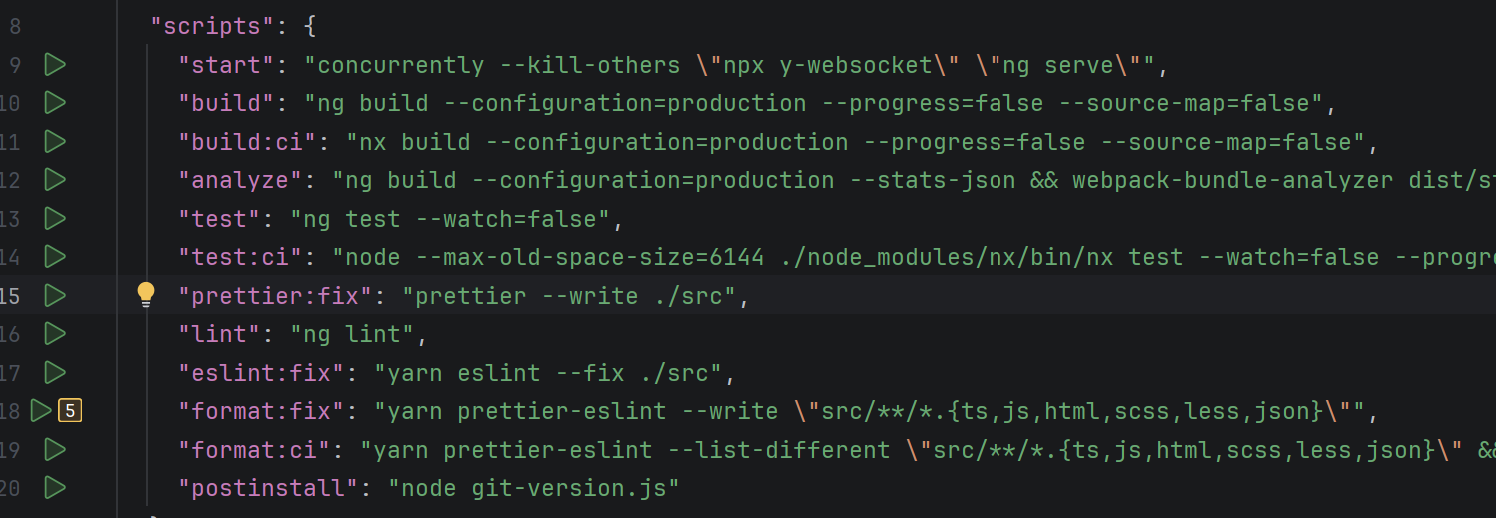
- Click on the Green Run button next to the
startinfrontend/package.json. - Wait for some time and the server will get started. Open a browser and access
http://localhost:4200. You should see the Texera UI with a canvas.\
Every time you save the changes to the frontend code, the browser will automatically refresh to show the latest UI. You can also run frontend using command line:
yarn start
Launch Frontend in the production environment
Run the following command
yarn run build
This command will optimize the frontend code to make it run faster. This step will take a while. After that, start the backend engine in IntelliJ and use your browser to access http://localhost:8080.
3. Email Notification (Optional)
- Set
smtpinconfig/src/main/resources/user-system.conf. You need an App password if the account has 2FA. - Log in to Texera with an admin account.
- Open the Gmail dashboard under the admin tab.
- Send a test email.
4. Misc
This part is optional; you only need to do this if you are working on a specific task.
To create a new database table and write queries using Java through Jooq
- Create the needed new table in MySQL and update
sql/texera_ddl.sqlto include the new table. - Run
sbt DAO/jooqGenerateto generate the classes for the new table.
Note: Jooq creates DAO for simple operations if the requested SQL query is complex, then the developer can use the generated Table classes to implement the operation
Disable password login
Edit config/src/main/resources/gui.conf, change local-login to false.
Enforce invite only
Edit config/src/main/resources/user-system.conf, change invite-only to true.
Backend endpoints Role Annotation
There are two types of permissions for the backend endpoints:
- @RolesAllowed(Array(“Role”))
- @PermitAll Please don’t leave the permission setting blank. If the permission is missing for an endpoint, it will be @PermitAll by default.
Windows: enable long paths
Some workflows create deep directories (e.g., when writing metadata.json via Python/ICEBERG). On Windows, this can exceed the legacy MAX_PATH (~260 chars) and cause failures like:
[WinError 3] The system cannot find the path specified.
Enable long paths support (per machine) by running PowerShell as Administrator:
New-ItemProperty -Path "HKLM:\SYSTEM\CurrentControlSet\Control\FileSystem" -Name "LongPathsEnabled" -Value 1 -PropertyType DWORD -Force
Verify the setting (expected value: 1):
Get-ItemProperty -Path "HKLM:\SYSTEM\CurrentControlSet\Control\FileSystem" -Name "LongPathsEnabled"
If you cannot change this policy (e.g., on managed devices), keep your workspace path short (e.g.,
C:\src\texera) to reduce overall path length.
Windows: Fix HADOOP_HOME errors
On Windows, if you encounter the following error when executing a workflow:
Caused by: java.io.FileNotFoundException: HADOOP_HOME and hadoop.home.dir are unset
here are the steps to solve this issue:
Steps
- Obtain a
winutils.exematching your Hadoop line (Texera currently uses Hadoop 3.3.x).- Suggested source (use any equivalent source approved for your environment): https://github.com/cdarlint/winutils/tree/master/hadoop-3.3.5/bin
- Create the directory and place the binary:
C:\hadoop\bin\winutils.exe - In IntelliJ, add this VM option to the FileService run configuration:
-Dhadoop.home.dir="C:\hadoop" - (Optional) Also set a system environment variable and restart the IDE/terminal:
HADOOP_HOME=C:\hadoop
Notes
- This issue may happen only on Windows; macOS/Linux do not need
winutils.exe. - Ensure the
winutils.exeyou use matches your Hadoop major/minor (e.g., 3.3.x). - After configuring, the prior read/write and “unset” errors should disappear.
Feedback
Was this page helpful?
Glad to hear it! Please tell us how we can improve.
Sorry to hear that. Please tell us how we can improve.